
Die Hard is a Christmas...Ornament
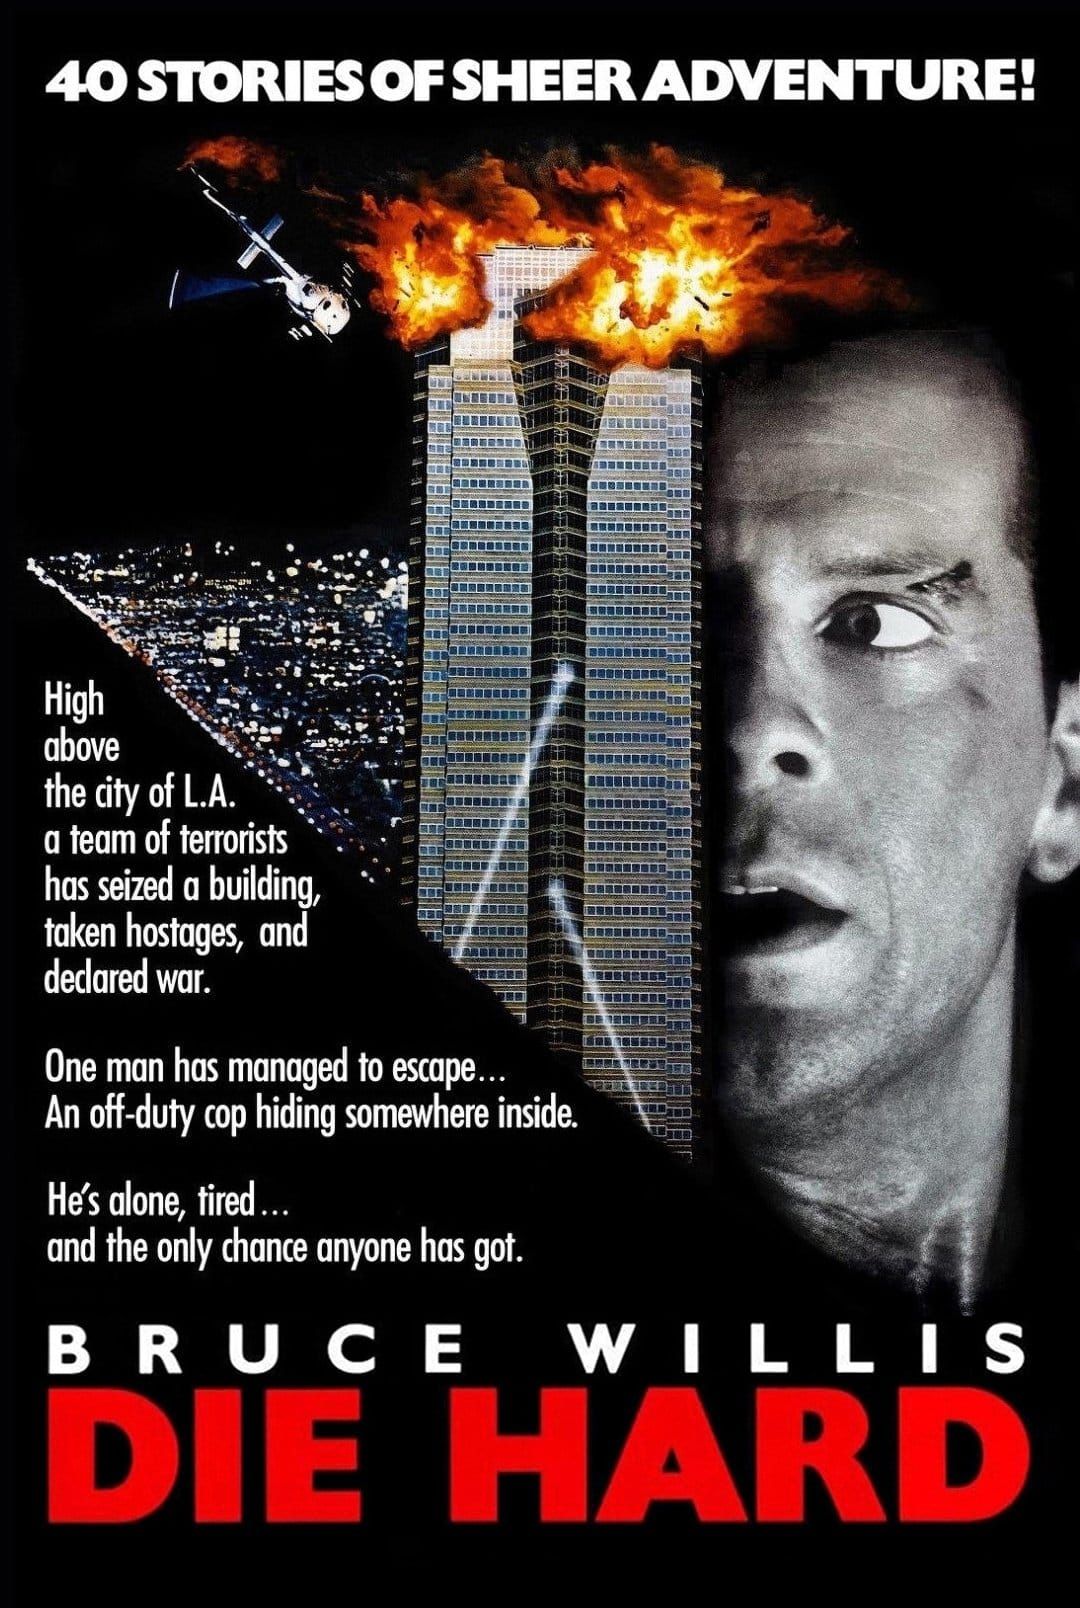
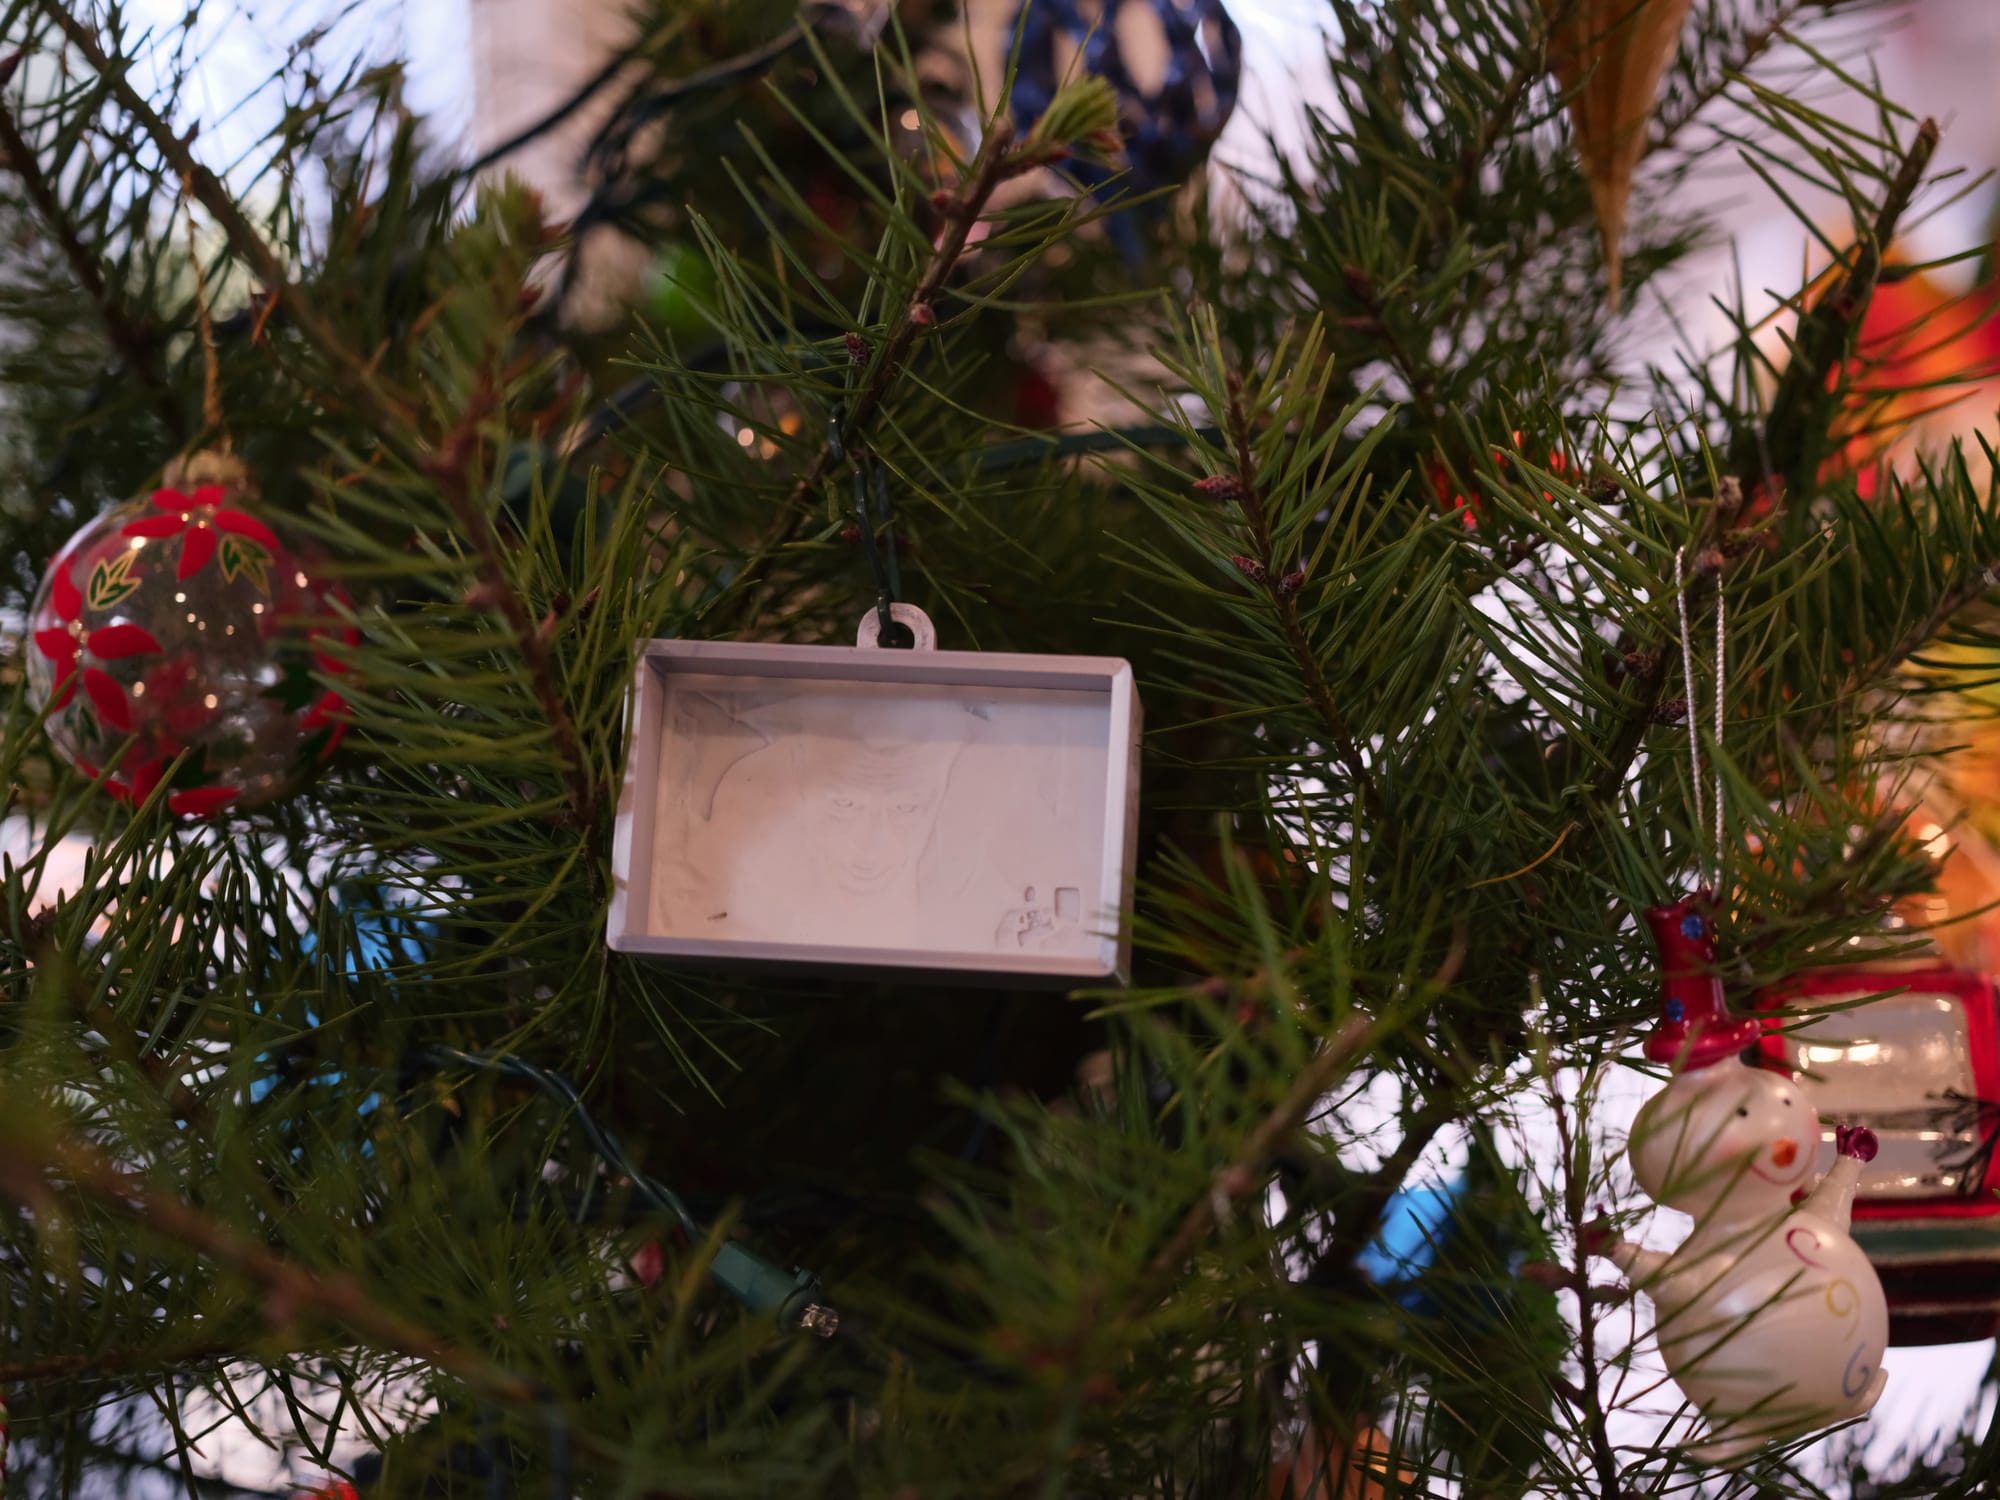
Last year I got a Bambu A1 Mini 3D printer for Christmas. I've been meaning to write about my experiences using it, but haven't yet gotten around to it. 😅 Today, though, I want to write about the 3D-printed ornament we just added to our tree this year: The scene from Die Hard where John McClane crawling around in the air duct! 😀
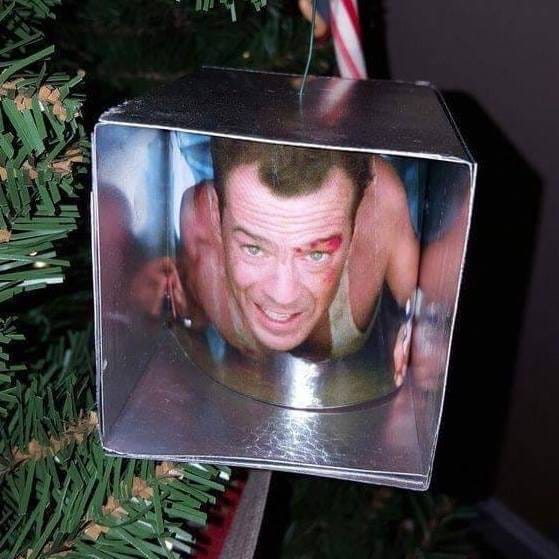
There are lots of versions of this Die Hard air duct ornament like the above DIY version, a more elaborate DIY version where the maker created the air duct box from actual sheet metal, and one where the air duct part is 3D printed, and the picture is backlit with an LED, to call out a few.
Our ornament is yet another version. 🙂 I found a 3D model on Makerworld where the picture of John McClane is printed using a lithophane process.
Tangent on Bambu printers
BTW, the great thing about using a Bambu 3D printer is that they have a site, Makerworld, where people upload 3D models and embed settings that they know will work on different Bambu printers, so the end-user doesn't have to do much to set up their printer before printing. It's a very smooth experience (generally), which is why I wanted to go with the Bambu A1 Mini. Yes, there are other similar 3D model aggregator sites, but they often don't have preset profiles for the STL models, so you have to guess at what settings you need to use when printing. It's not difficult to do so, especially when you're more experienced, but I think for new users, the integrated Bambu printer and Makerworld experience is very "plug and play" easy and enjoyable.
A short note on lithophanes
The original lithophane process involved carving ceramic so that when it was backlit, the artwork could be fully seen:
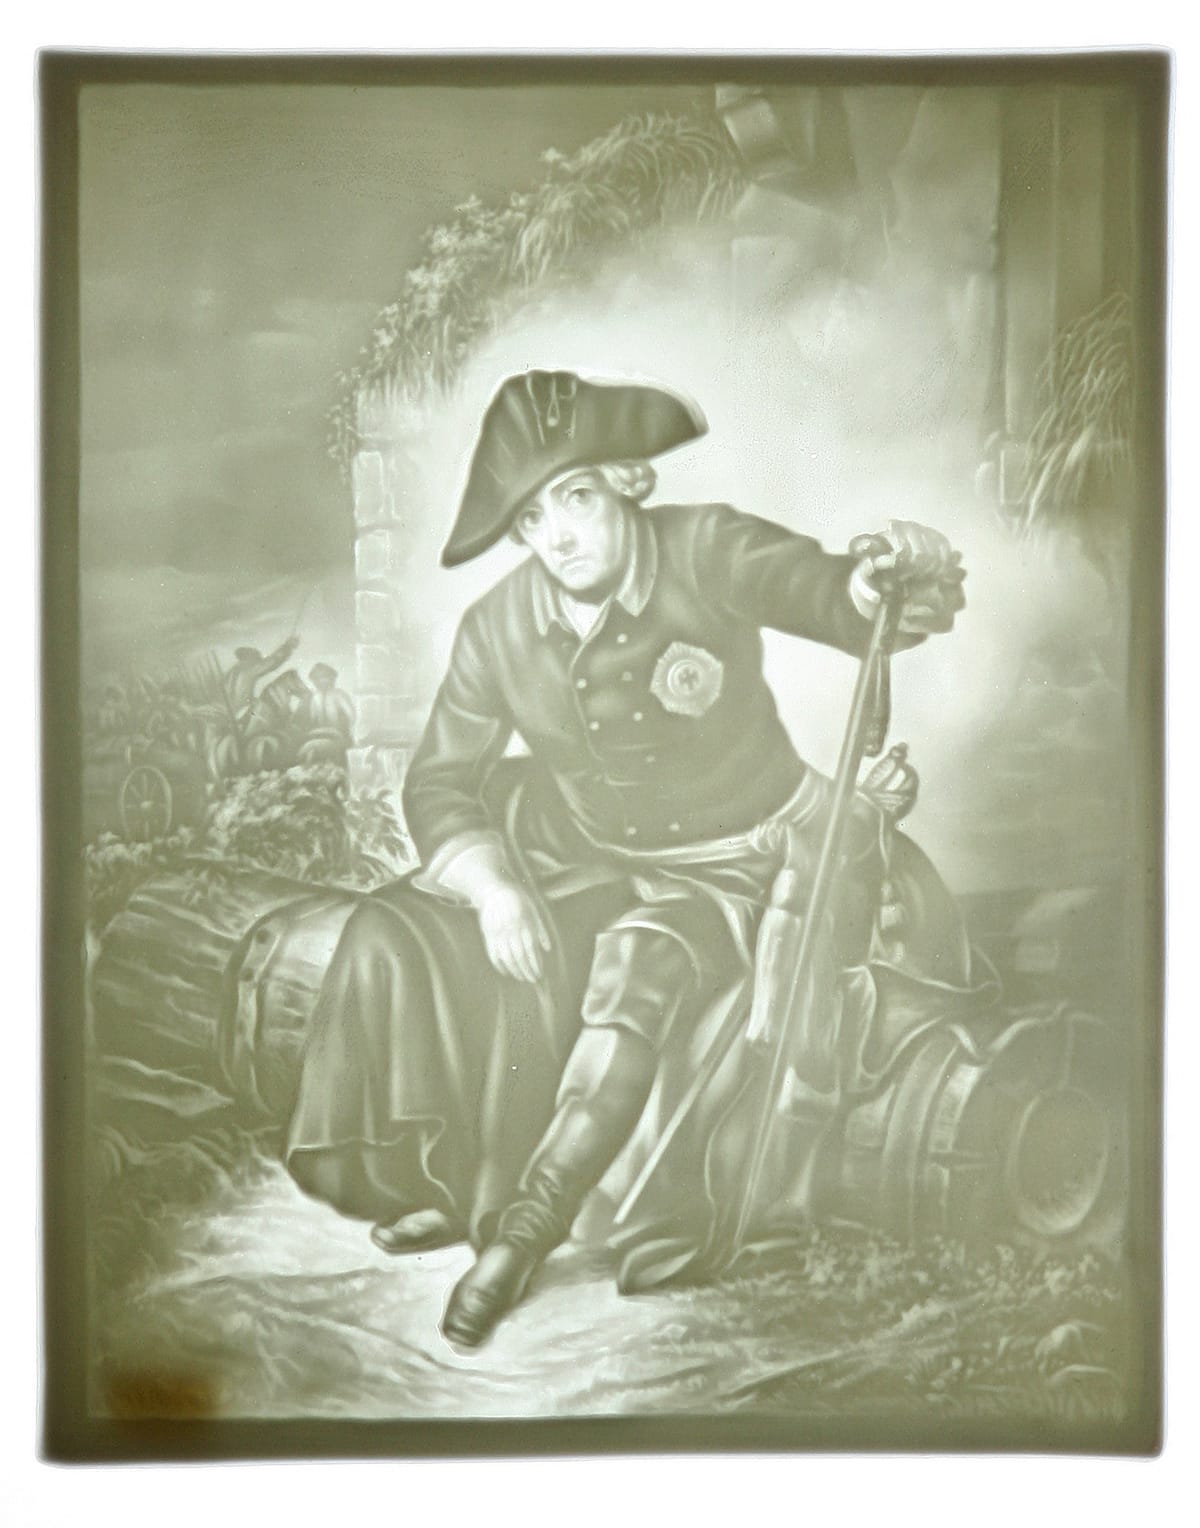
Left: lithophane carving, not lit; right: lithophane carving backlit
Lithophane 3D printing
Anyway, my husband also bought me a set of cyan, magenta, yellow, and white filaments meant to be used specifically for printing lithophanes. My Bambu A1 Mini came with the AMS (Automatic Material System) Lite set up, allowing 4 different filaments to be used for a 3D print. This is important for lithophanes, because they work similarly to dye-sublimation printers, where the individual cyan, magenta, yellow, and (in this case) white layers are printed on top of each other in a certain order to make the full-color image.
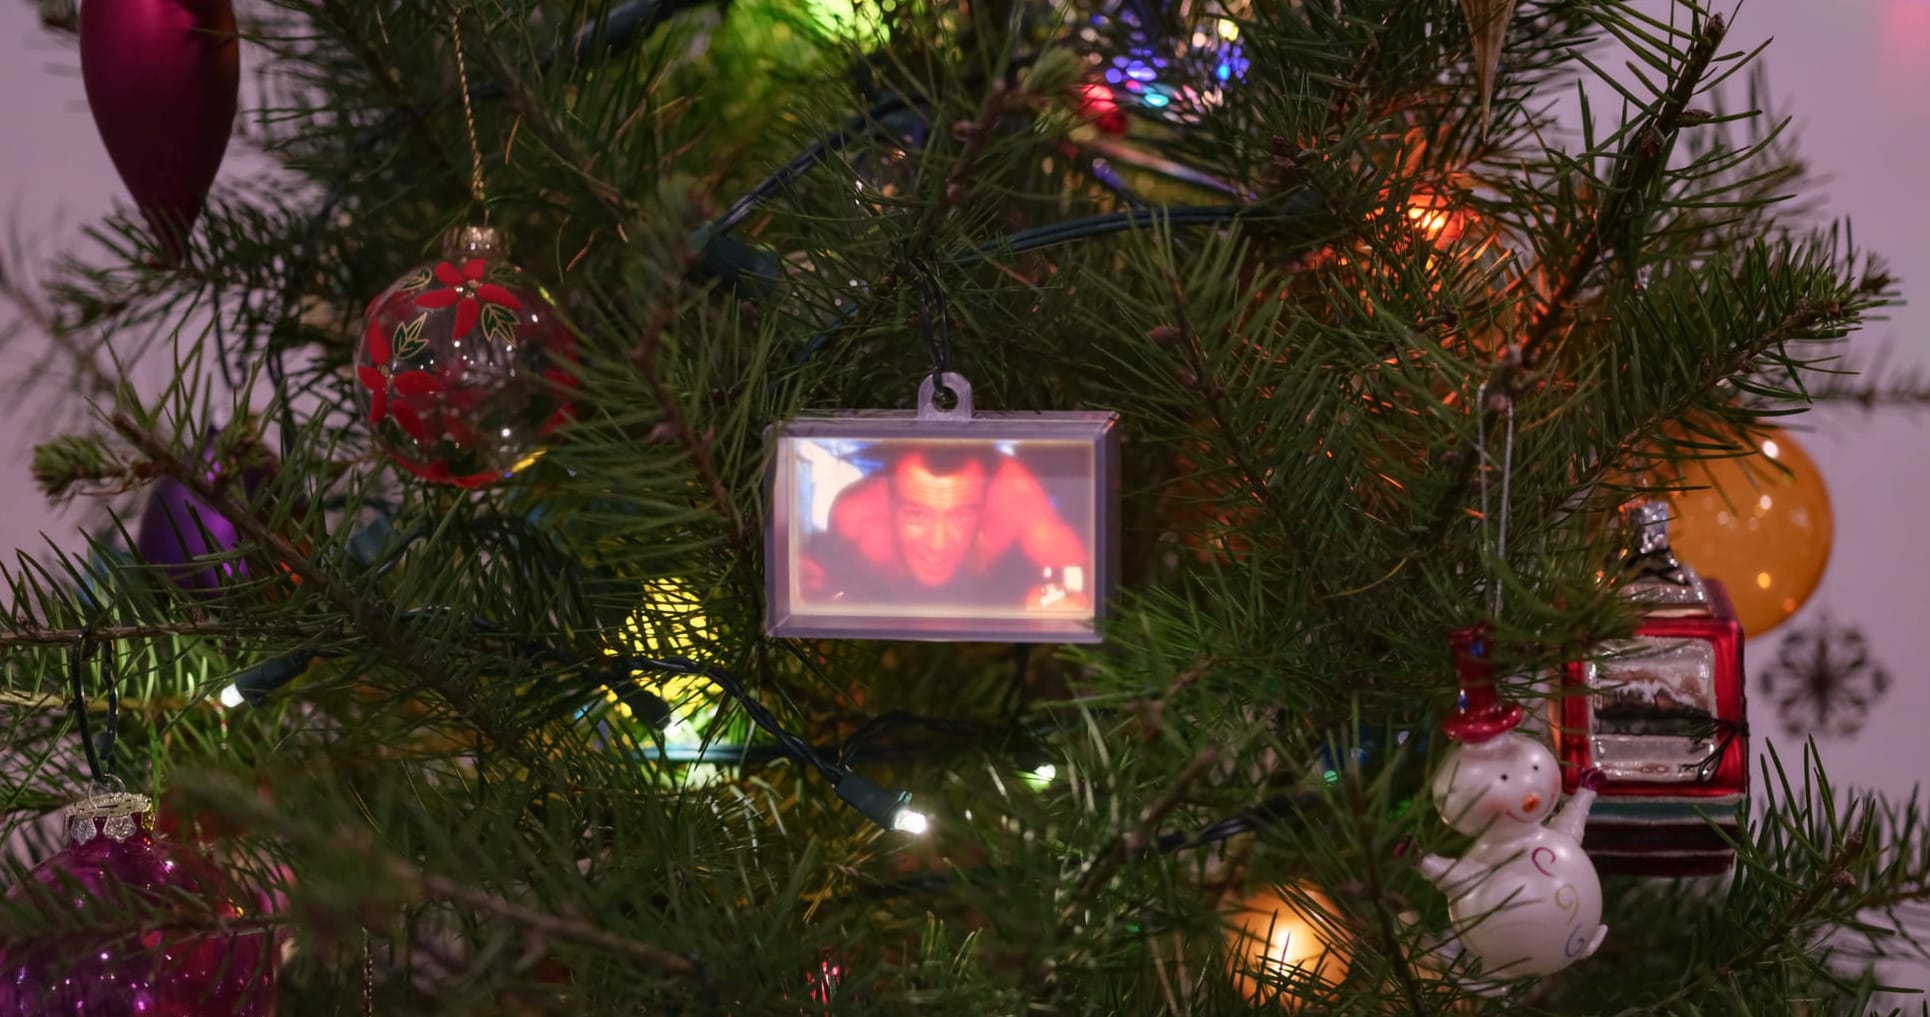
When I found the Die Hard scene lithophane on Makerworld, I, of course, had to print it first. 😀 It is magical to see the finished lithophane in action, because the top layer looks very much like the carving pictured above, where you can kind of make out the scene, but depending on the contouring, you may or may not fully be able to understand what you're looking at. Once it's backlit, especially using color filaments for the other layers, it comes alive as a photograph-like image!
The maker of the Die Hard lithophane also created an ornament frame model for it, which I originally printed out. It only has one hole in the back for a light source. When I tested what it looks like with one mini-light from a string of Christmas lights, it looked cool, but not evenly backlit. So I asked my husband to redesign it to allow 6 mini-lights to be evenly spaced in the back for more lighting. Below is the result:
Photographer nerd tangent
It's kind of hard to capture the lit ornament since it's brightly backlit. Using a smartphone to take the picture really doesn't work, even if you adjust the exposure compensation. There isn't enough dynamic range to compensate. So I had to use a camera, expose for the ornament's lighting, and bring out the shadows in post so you can see the tree branches and other ornaments. /tangent
Obviously, John McClane's skin tones are too red, maybe partially because the backlighting from 6 mini-lights is too bright, and maybe partially because 3D printing a lithophane is not going to accurately reproduce a photo. I don't care; the ornament looks awesome! 🤩 I love that you can clearly see part of the air duct above his right shoulder, and the lighter is discernible. It looks like a screen capture from the movie. Yay!
I haven't played around with lithophanes beyond this. But there are online tools to generate a lithophane 3D print model from images, whether they're photographic or not. I'm interested in using some of my own photography for future lithophane prints. It'll be such a fun project to experiment with!
Thanks for reading. If you like what I write and want to support me, you can buy me a coffee...or tea! I'd appreciate it.